Setting up Bare Metal Development Toolchain for ESP32 Revision as of 15:06, 30 December 2016 by Raghavendra (Talk | contribs)
(Tutorial in the making!...)
The Espressif Internet Development Framework (ESP-IDF) is core development tool-chain for the ESP32 chip. It includes the compiler, programming tools and various software components that enable software development on the chip. In this tutorial we will look at setting it up and describing in brief, the structure of the framework.
Windows ESP-IDF Setup
The setup on other operating systems should be easier than Windows. I did set it up on Ubuntu and it was easier, so lets get started.
Step 1: Download the pre-compiled MYSYS2 environment for ESP32
There are other ways to accomplish this like compiling the environment itself but I would rather recommend doing this. So download it from the link below.
https://dl.espressif.com/dl/esp32_win32_msys2_environment_and_toolchain-20160816.zip
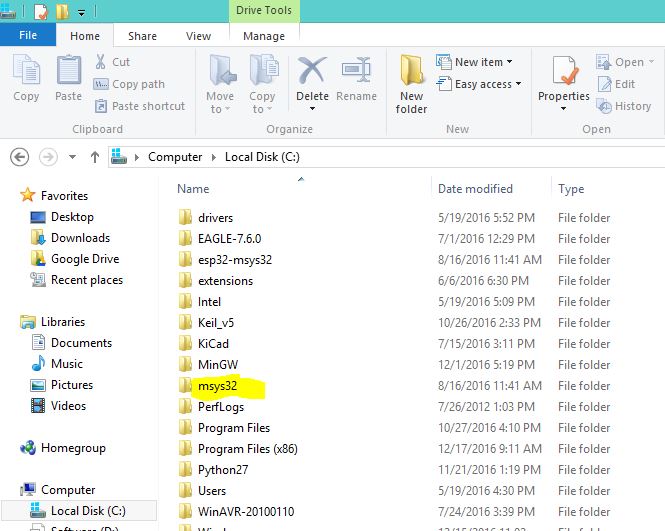
Step 2: Extract the tool-chain to the C: drive
This will create a folder called msys32 as shown.
Step 3: Download the ESP-IDF
You may either download it by cloning it with git like so
git clone --recursive https://github.com/espressif/esp-idf.git
or you download the repository directory.
Note: When downloading the git ensure that recursive is there, so that it can download all the required dependencies.
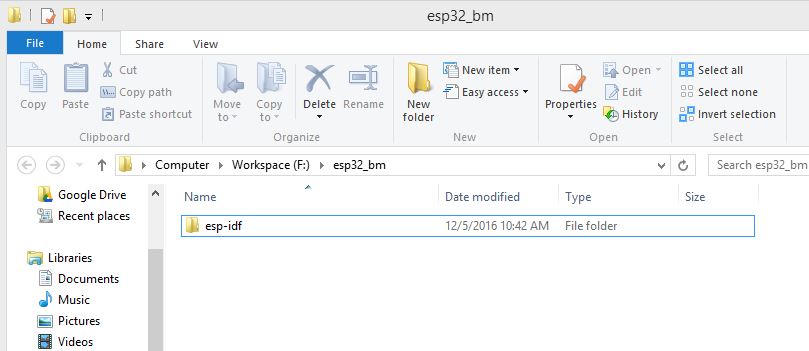
I did it under a directory called esp_bm (bm-baremetal) so that I can keep everything organized like so
Step 4: Download a project template
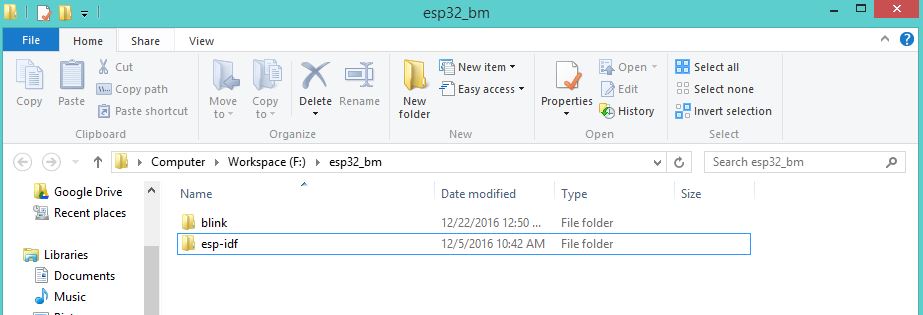
The project template has all the essentials setup. Download and extract it from the like so:
git clone https://github.com/espressif/esp-idf-template.git blink
This will download the example template in the blink directory. You may also manually download it manually from the repo.
Step 5: Configure the project
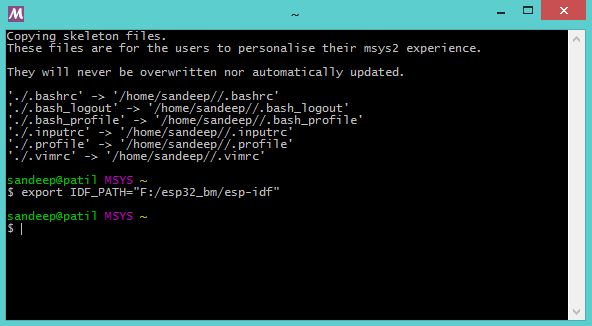
As said in Step 3, we need to first set the esp-idf path in the tool chain and resolve if there are any dependencies. To do this open an MSYS2 terminal window by running C:\msys32\msys2_shell.cmd like so..
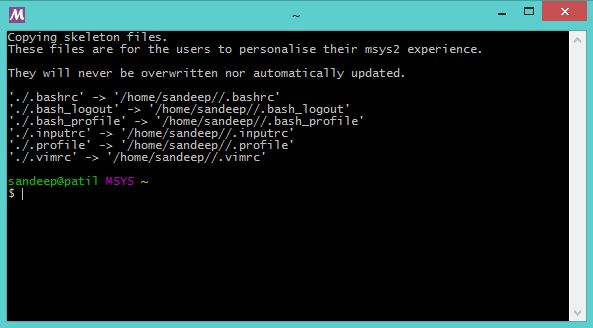
- Type the following command to set up the ESP-IDF path. You may change the path according to where you've downloaded the ESP-IDF in step 3.
export IDF_PATH="F:/esp32_bm/esp-idf"
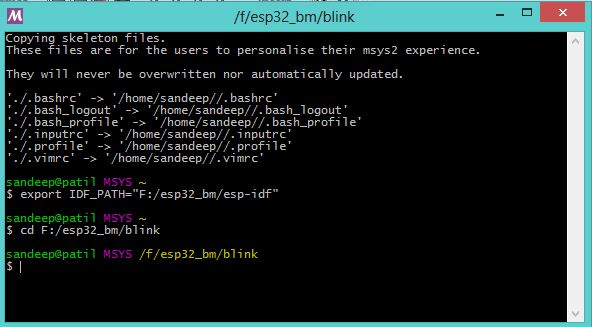
- Now let's try and open the project directory, which we have named blink from the msys2 terminal like so
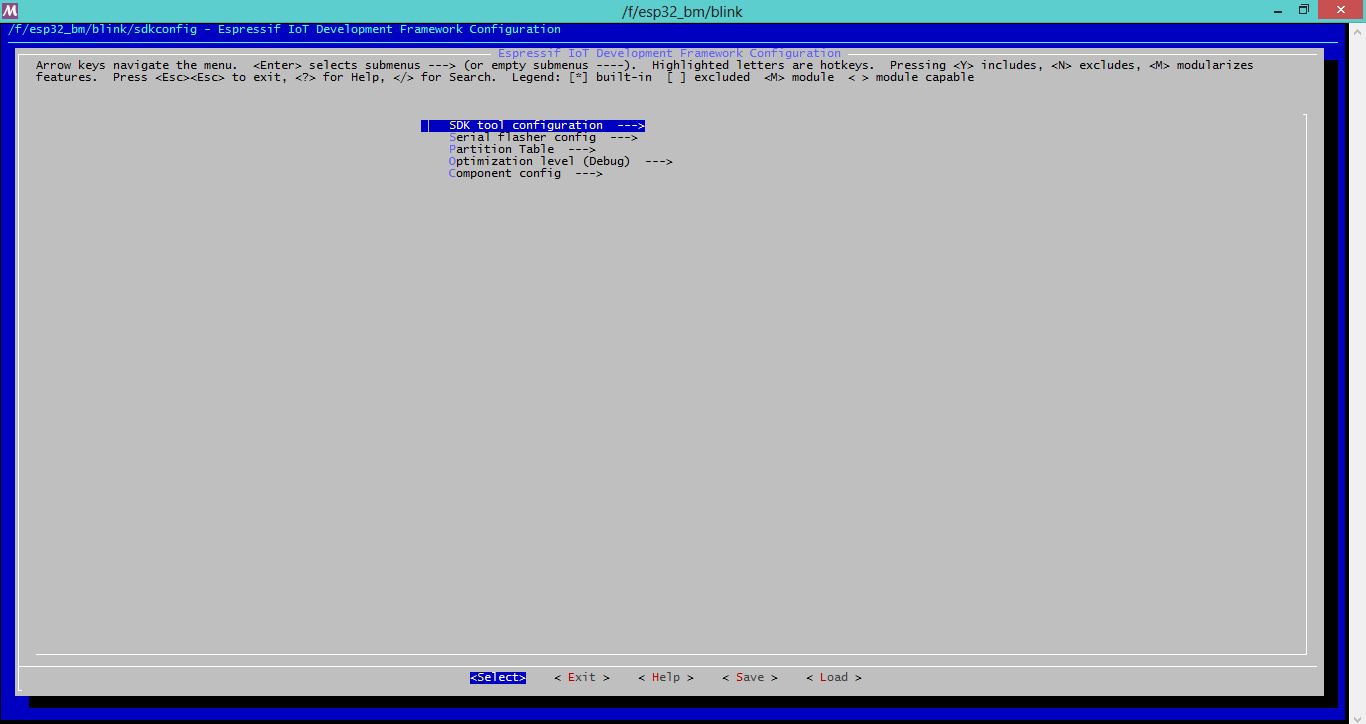
- ESP-IDF has a cool menu system to configure the project. This can be accessed by the command below:
make menuconfig
If everything goes well, you'll see this window:
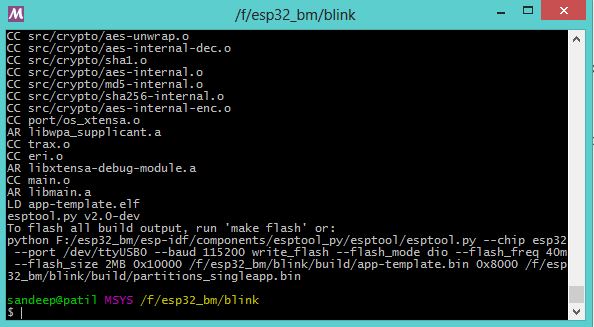
- Then hit the make command to compile the project.
make
Step 5: (Optional) Configure msys2 with ESP-IDF path for future use
In the previous step, we configured the ESP-IDF path first. Now if we close and open the msys2 terminal it will forget the path. If you don't intend to move around the ESP-IDF directory we can configure msys2 to remember it. To do this, edit the profile.d file under C:/msys32/etc/profile.d and add the following line to it.
export IDF_PATH="F:/esp32_bm/esp-idf"
Setup for MAC and Linux
The setup for MAC and Linux is pretty straight forward, as these Operating systems come built in with the Msys environment. I was able to set it up easily on Ubuntu. Follow the steps on the links below to do so.

